.....to check the condition of the reverse-flow cooling system pieces.
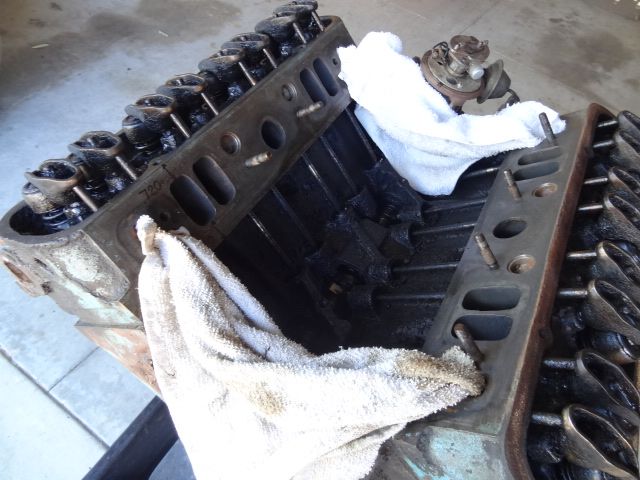
So off came the valve covers, intake manifold and valley pan.
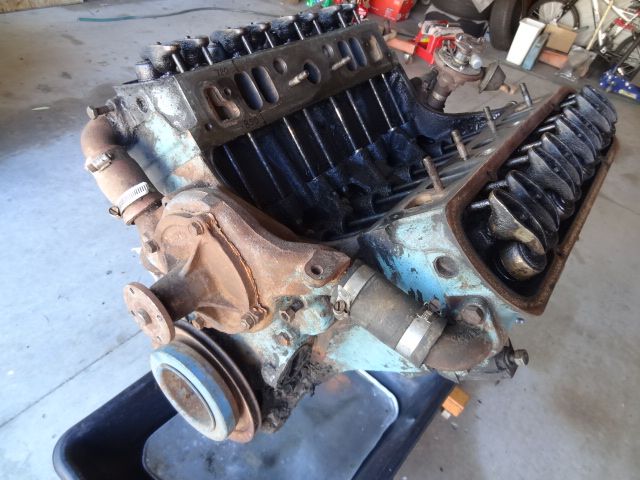
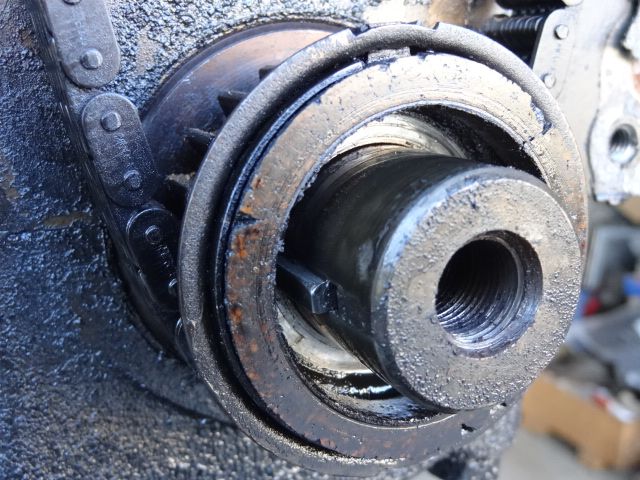
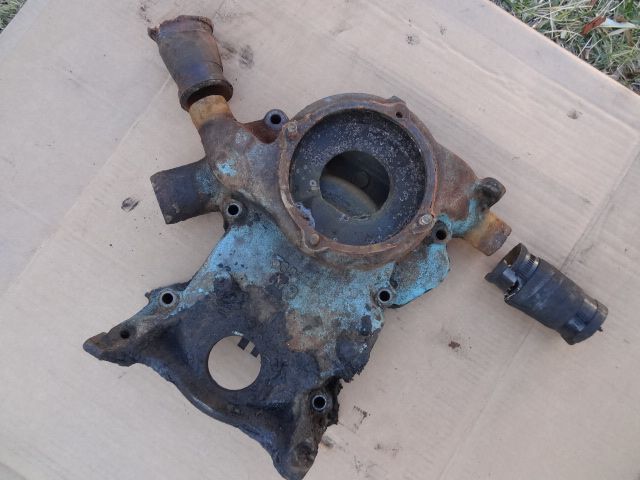
The water pump still turns freely and the pump cavity looks to be in pretty decent shape.
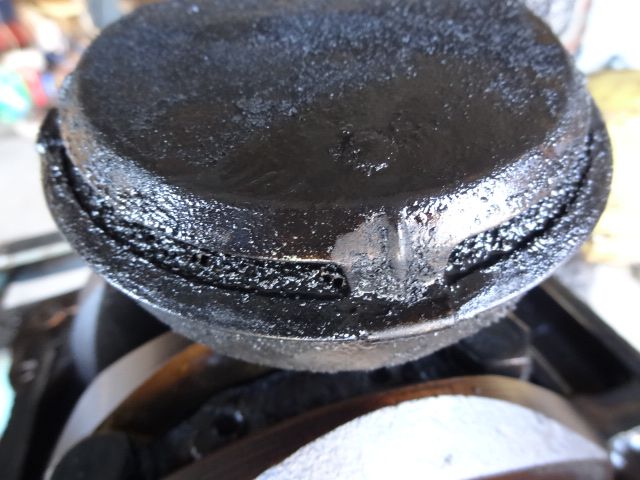
After removing the balancer I can see the primitive cork front seal assembly has long ago stopped doing any sealing. Getting the front cover cut for a modern neoprene lip seal is definitely on my list of things to do.
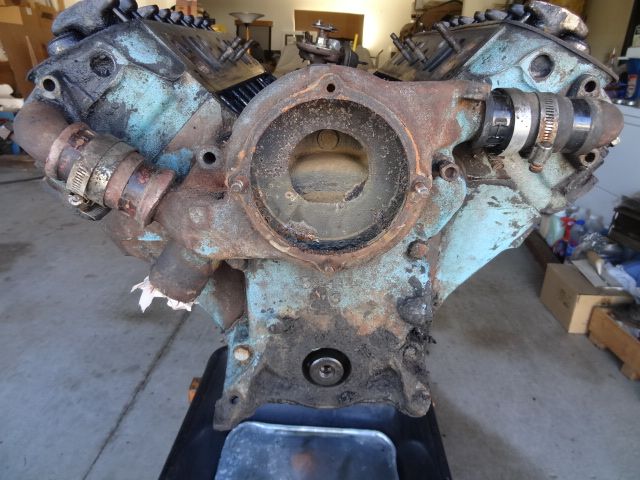
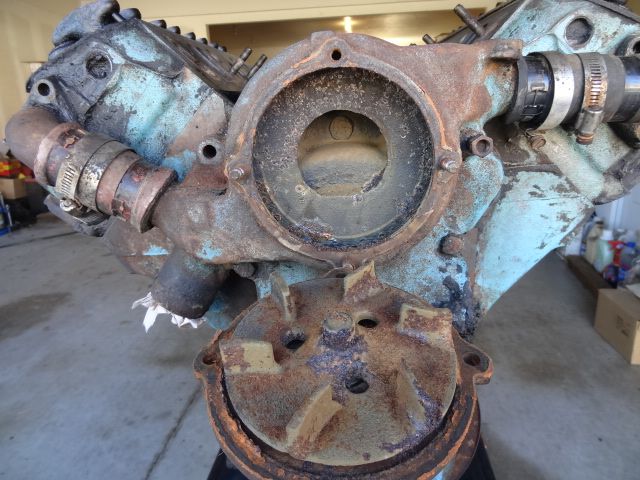
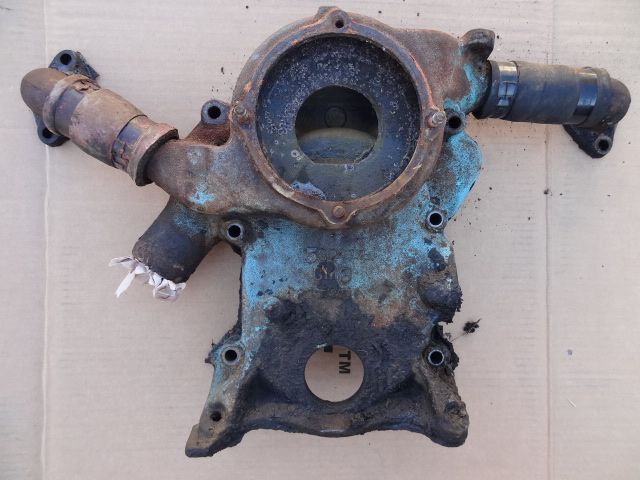
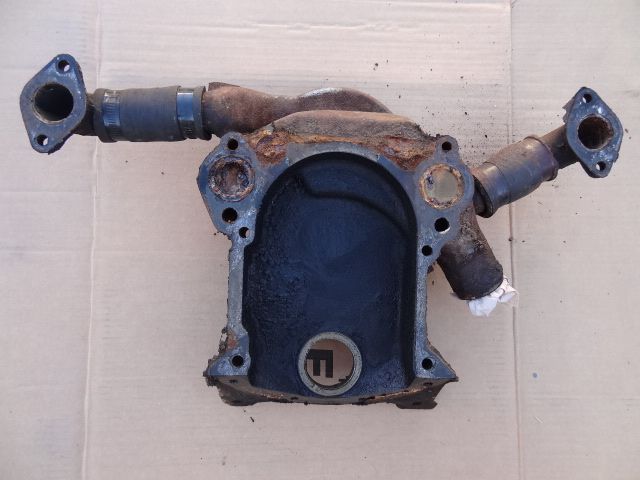
Timing cover assembly removed, there's really no other way to get access to the cooling tubes in the heads since the rubber connecting hoses are rock-hard.
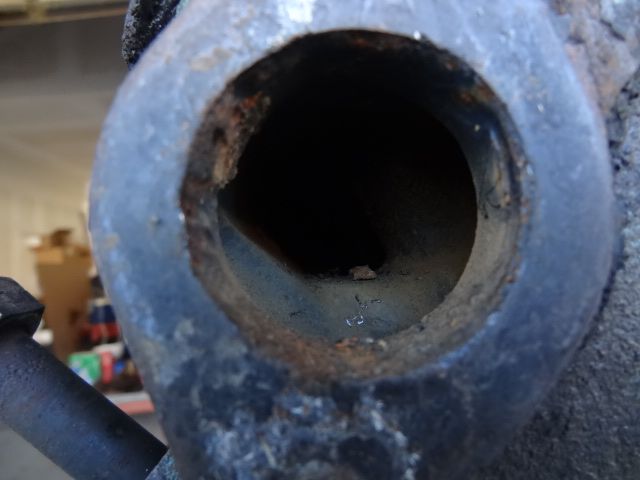
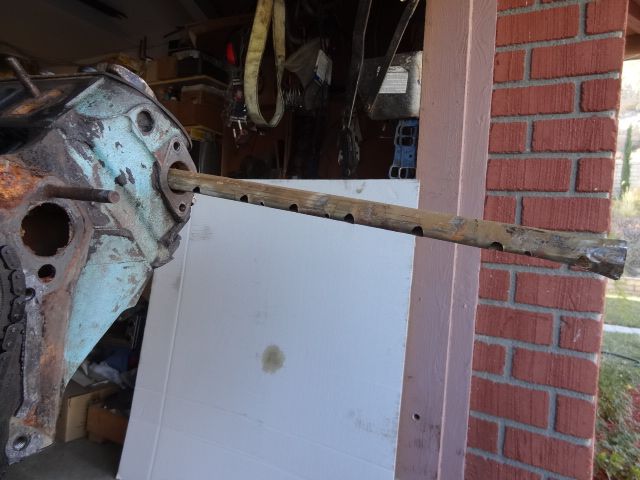
First peek at one of the thin stainless steel cooling tubes, driver's side shown here. I was sort of wondering if they'd even be in there at first.
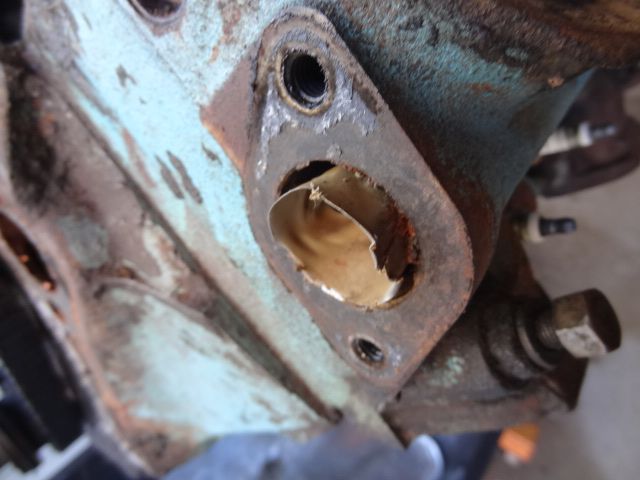
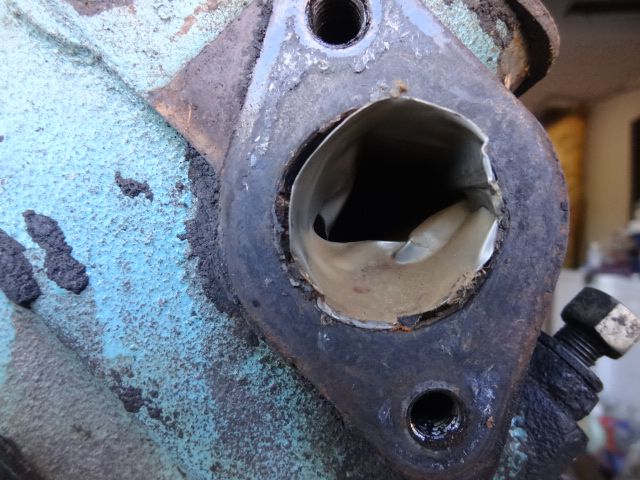
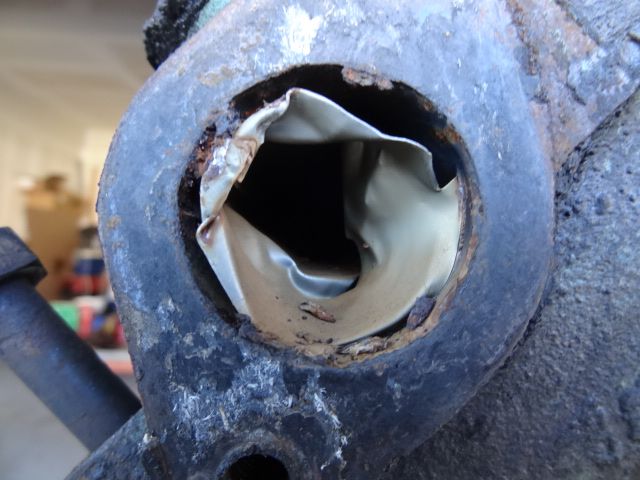
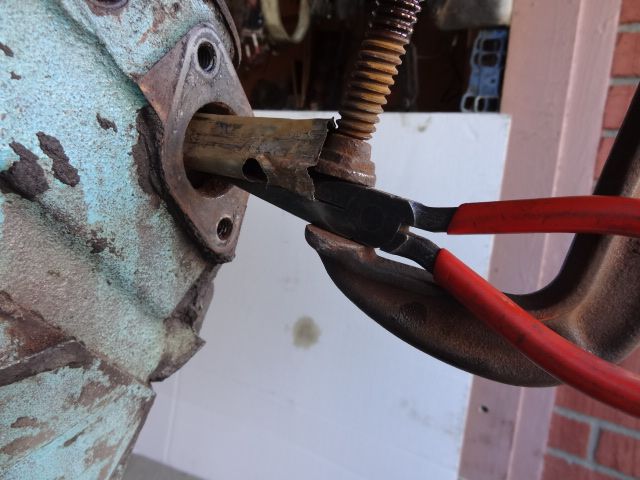
Passenger side tube, clearly somebody in the past just crammed in the last bit and made a mess of the end of the tube, worse than on the driver's side tube.
I managed to straighten the end of the tube enough using long needle nose pliers and a thin screwdriver to be able to coax it out.
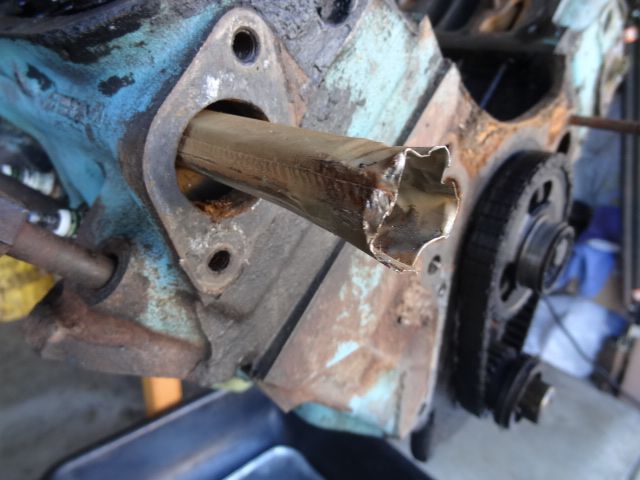
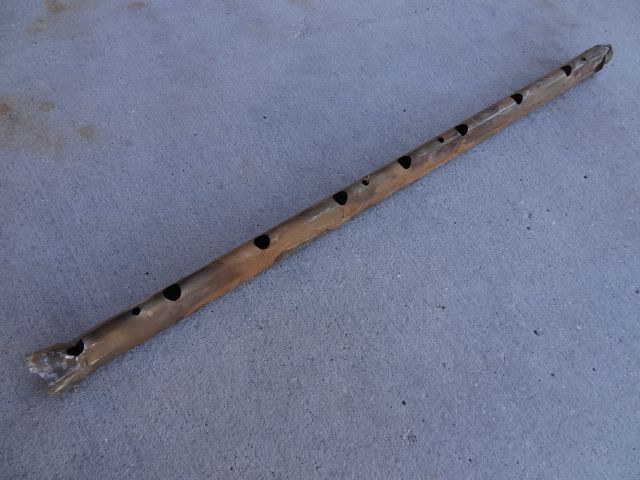
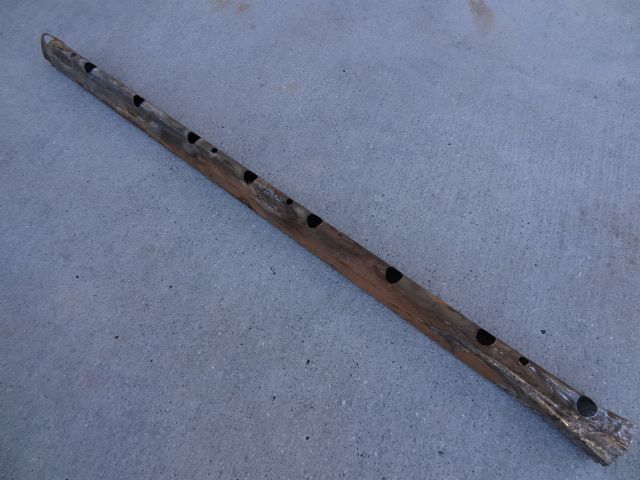
Here you can see one of the gusher holes in the tube that directs the coolant toward the valve seats.
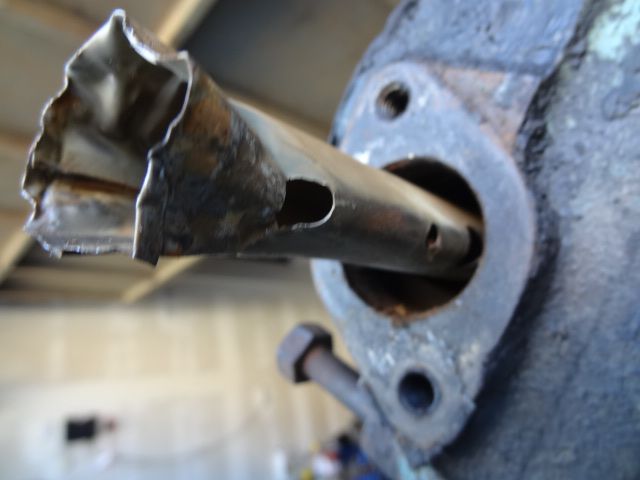
Here's the cooling tube in all it's glory, there's really not a lot of information or pictures of these things available.
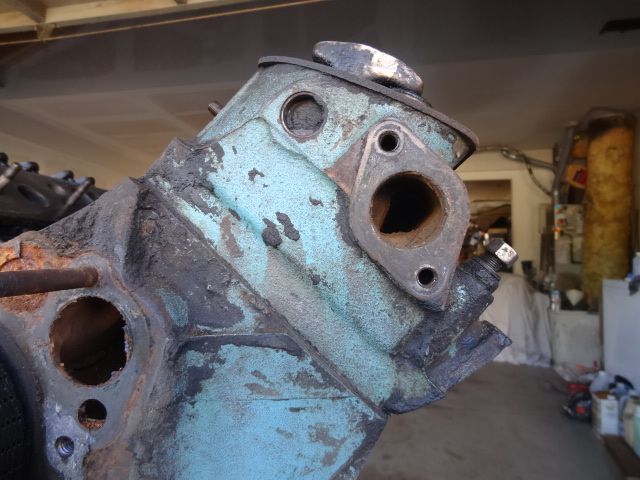
The cavity in the head is cast so that you can't insert the tube in the wrong orientation.
The driver's side tube was a lot more stubborn, I ended up using a C-clamp to hold the pliers tightly and then I tapped on the clamp with a lead hammer to finally free it.
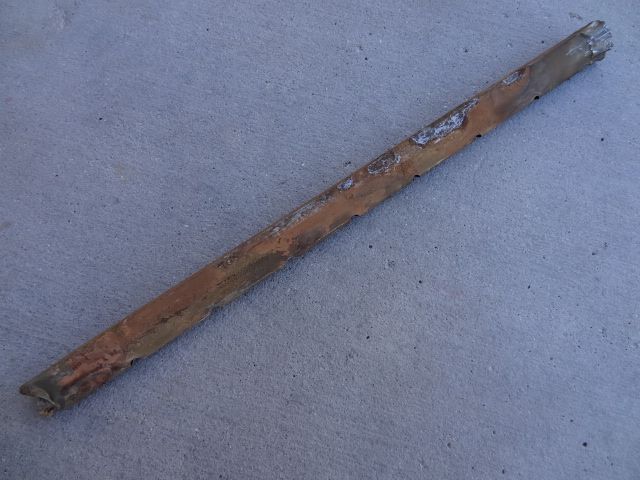
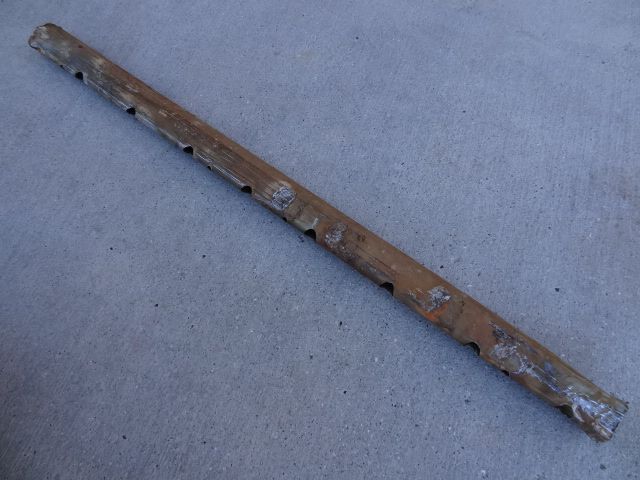
Here again you can see the gusher holes in the tube pointing inward toward the valve seats.
Driver's side tube laid out for inspection. I'll have to do some careful straightening of both ends of these tubes before putting them back in the heads.
Another attempt at showing the shape of the cooling tube cavity in the head.
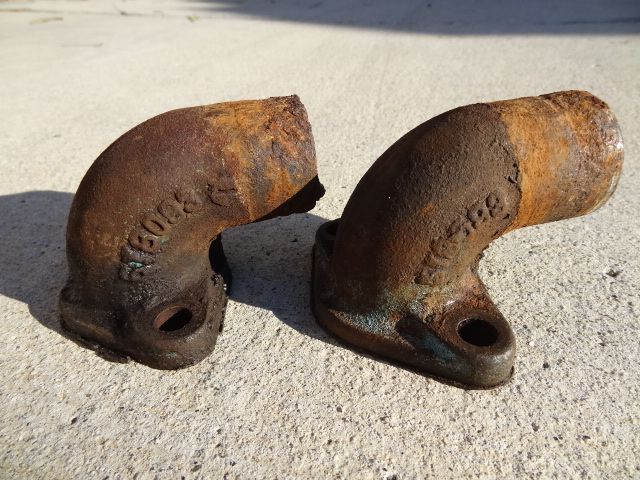
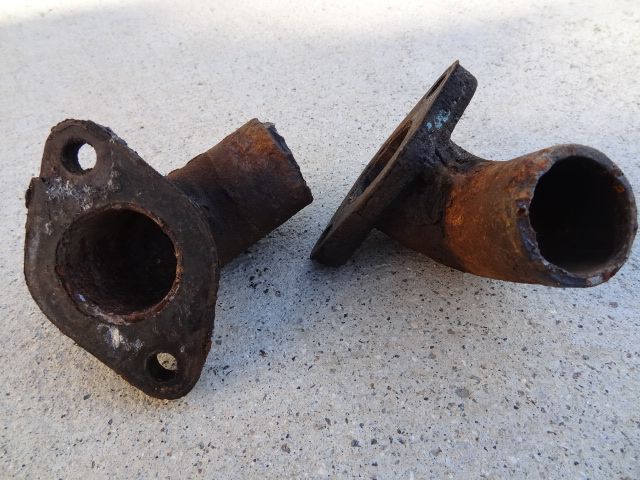
Cooling elbows after extracting them from the old hoses.
Timing cover ready for a long soaking in some cleaning solution.
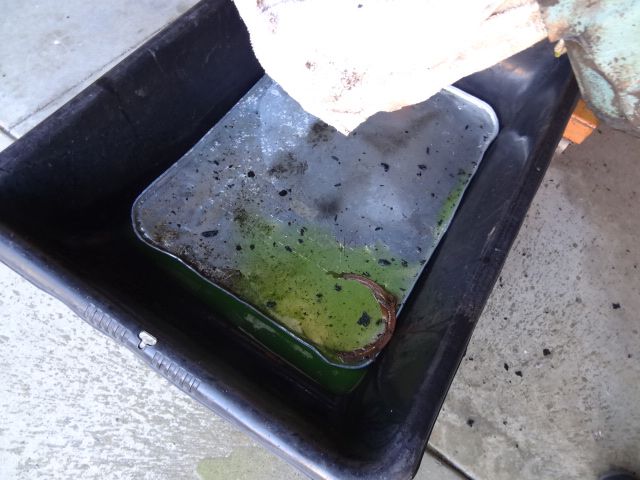
I stuffed some rags into the cooling passages at both ends of the heads to keep any errant coolant or rust flakes out of the engine while I flip it upside down.
Some nice green coolant trickled out, a good sign.
The bottom end looks fairly clean.
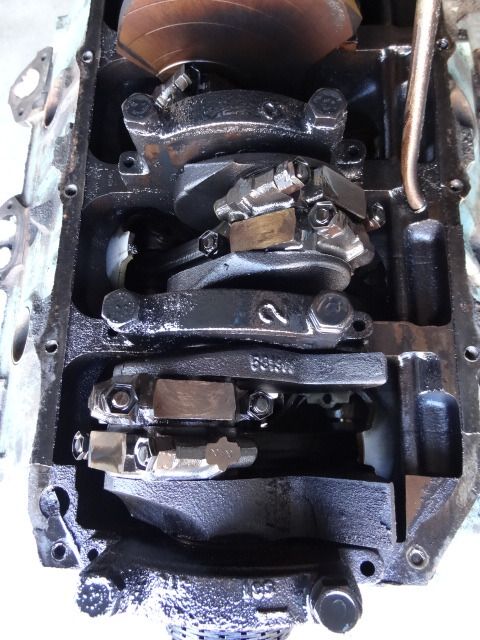
A closer look at the heavy webbing cast into the lower end of the passenger side of the block.
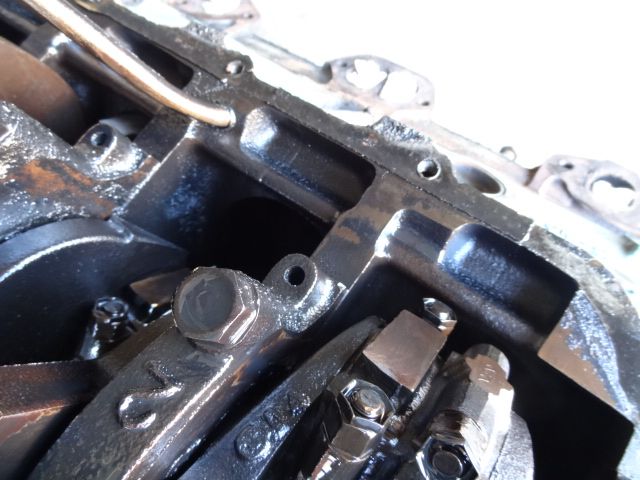
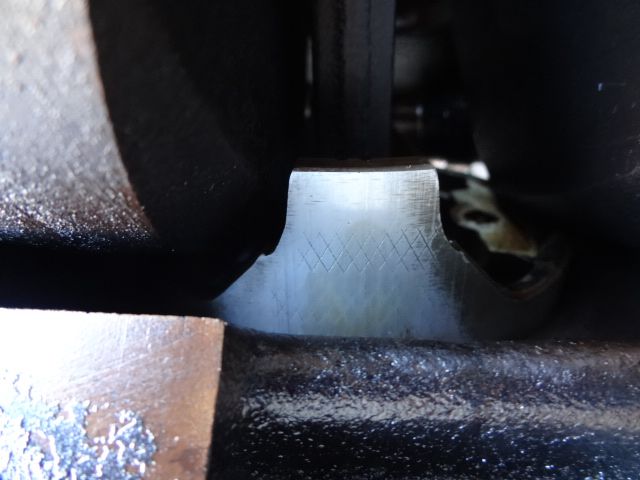
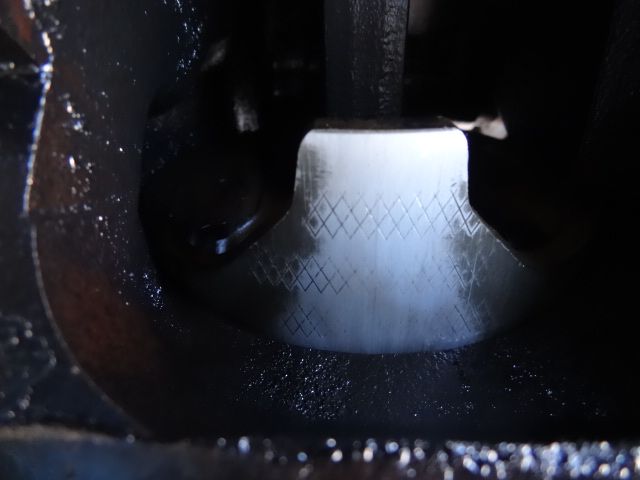
A better look at the thick front main cap.
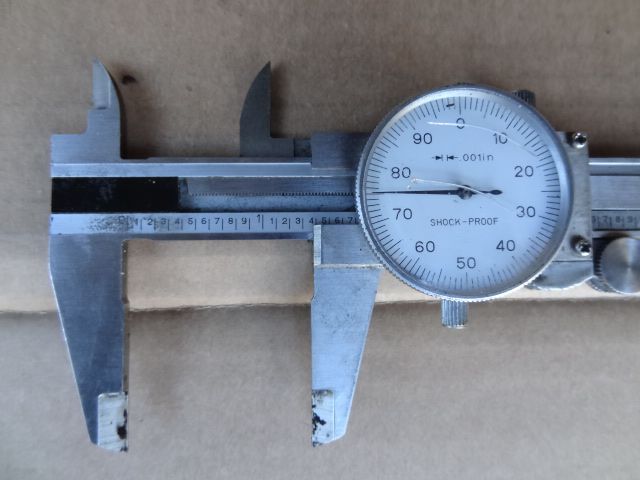
Measuring the the cap thickness with my cheap Harbor Freight garage calipers.
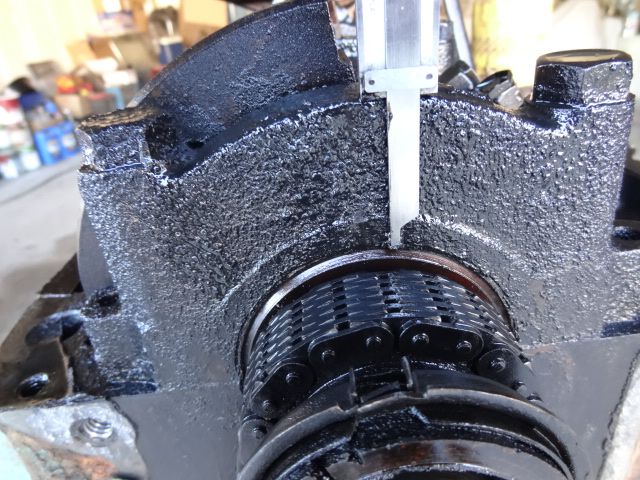
We have a 1.375" measurement.
All of the connecting rods have their corresponding cylinder numbers stamped in, telling me that someone's been inside here before.
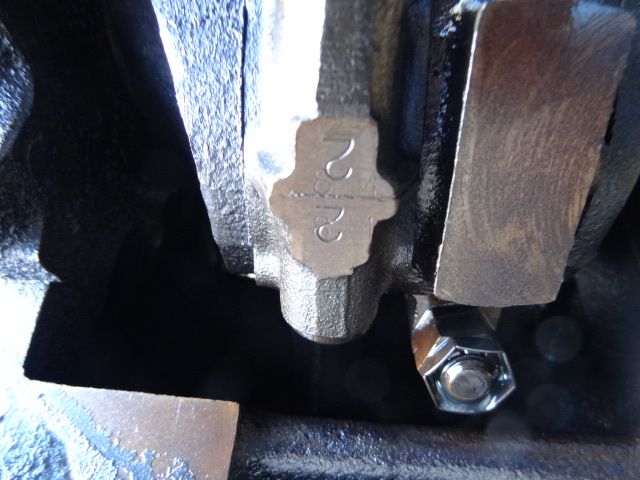
Not only that, I see clear evidence of some knurling on the piston skirts as well.
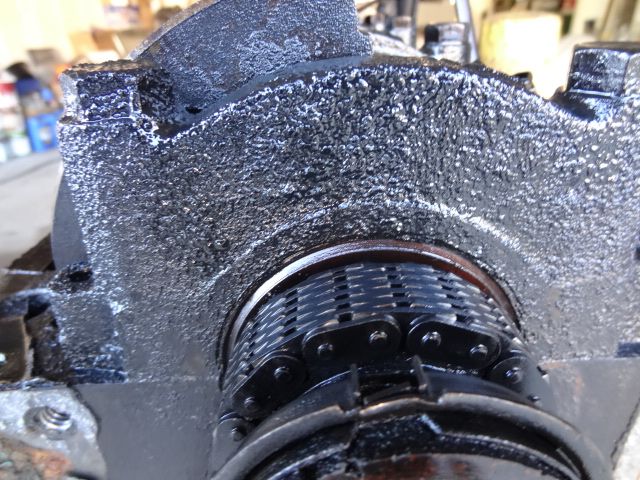
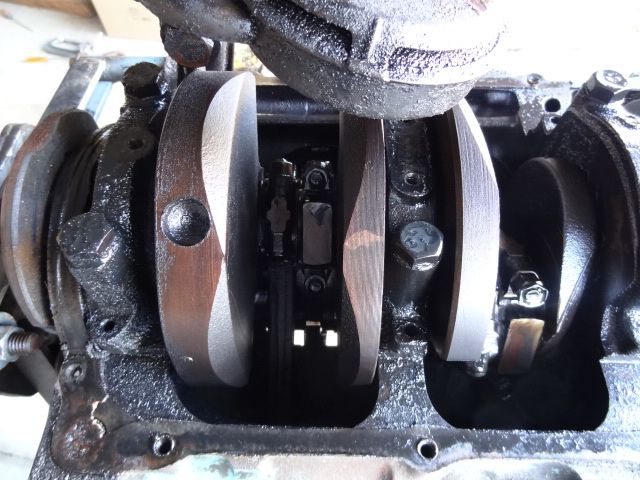
I pulled the windage tray and dipstick tube, exposing some pretty clean-looking rear crank counterweights.
The oil pump pickup is pretty clogged-up with crud, I'll probably treat this old soldier to a lightly used modern Melling M54D 60 psi pump and pickup before buttoning it up.