Now that the lower end was buttoned up, it was time to move on to the top half of the motor.
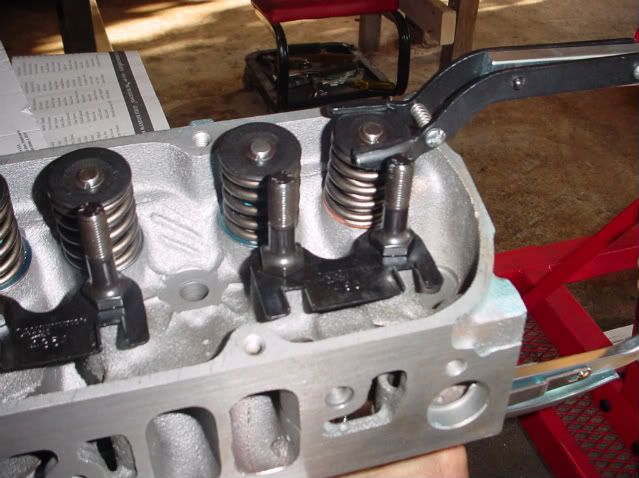
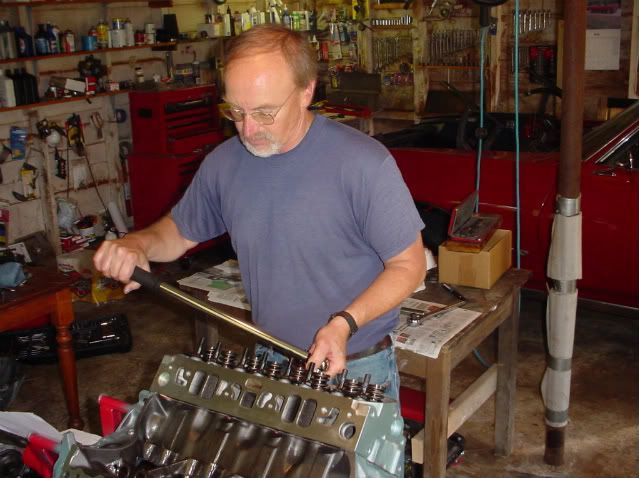
The machine shop built the heads, so there was nothing for us to do. However, we decided to check for piston-to-valve clearance. We didn't expect a problem given that we were using stock parts. But, since these stock parts were never actually installed together by the factory, we thought it was better to be safe than sorry. In this picture we are removing the valve springs on the driver's side head so we can install the light weight check springs. The use of the light weight springs allowed us to use the stock hydraulic lifters in the valve train mockup. If you use the regular weight springs, you must use a solid lifter to get accurate results.
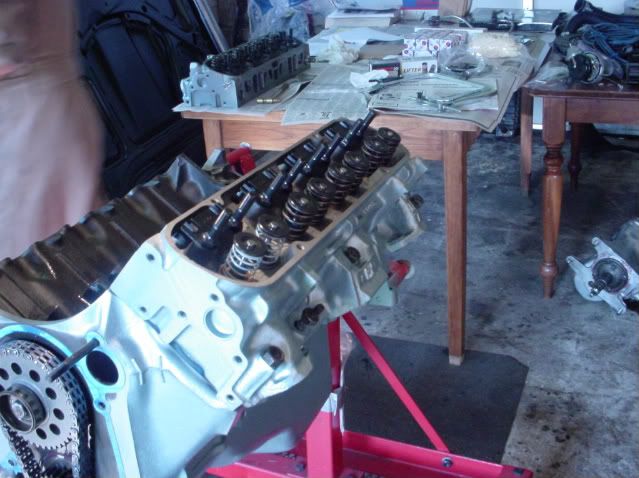
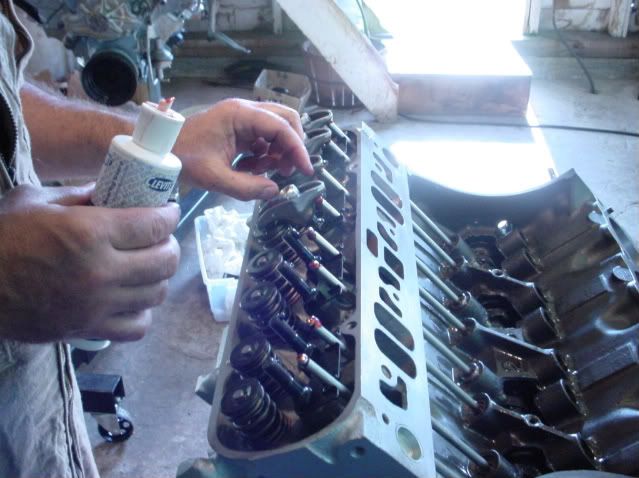
In this picture we have installed the driver's side cylinder head, complete with head gasket. After the head was bolted down, we installed the lifters, rocker arms, and push rods for the number 1 cylinder. No preload is necessary here, so we just adjusted the valve train for zero lash.
You can see the light checking springs on the number one cylinder. What you can't see is the clay that we put on top of the piston in areas where there was potential for piston-to-valve interference.
If you noticed that the water pump studs are threaded into the upper holes instead of the middle holes where they belong, you are correct. We fixed this later.
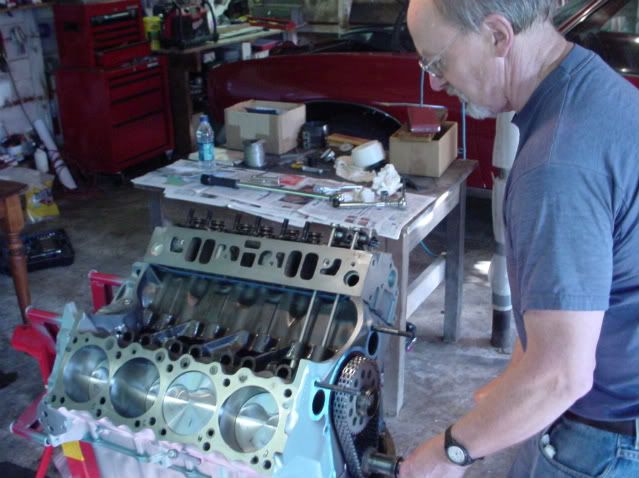
With the cylinder head, valve train, and clay in place, it was time to roll the engine over. It needs to be rolled over twice to make sure both valves have the chance to come as close as they can come to the piston.
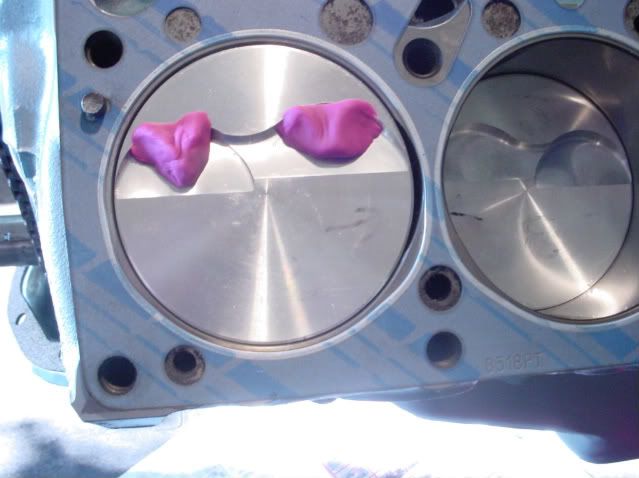
In this picture we have removed the valve train and the head. If there been a potential for interference, we would have found indentations in the clay from the valves. In this case, you can see that we plenty of clearance, because the valves never even touched the clay. Had this been a close call, we would've done all eight cylinders.
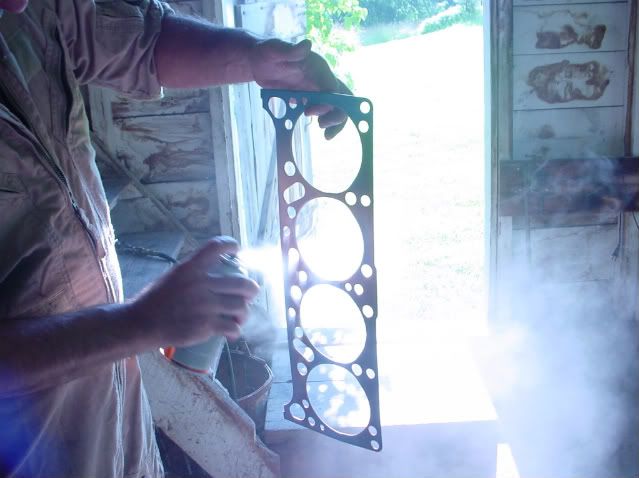
Now we that we are confident that the valve train would not be hitting anything, we installed the heads. In this photo Karl is treating the head gasket with a copper coating. This is done to improve head to block seal.
Once the head is properly placed on the head gasket and is lined up properly with the dowel pins in the block, it was time to torque the head bolts.
I didn't talk about torque earlier, but the practice is to "torque in thirds", meaning that you would do all the bolts to one third of the final torque spec, start over and tighten the bolts to two thirds of the final torque spec, and finally torque all the bolts to the final spec. Rebuilding guides will show you the proper sequence for tightening the bolts.
Unlike small block Fords, none of the head bolts enter coolant passages so no thread sealant is needed. However, dont forget to use 30wt motor oil on the threads of the head bolts, and be sure to put a drop of oil under the head of the bolts as well.
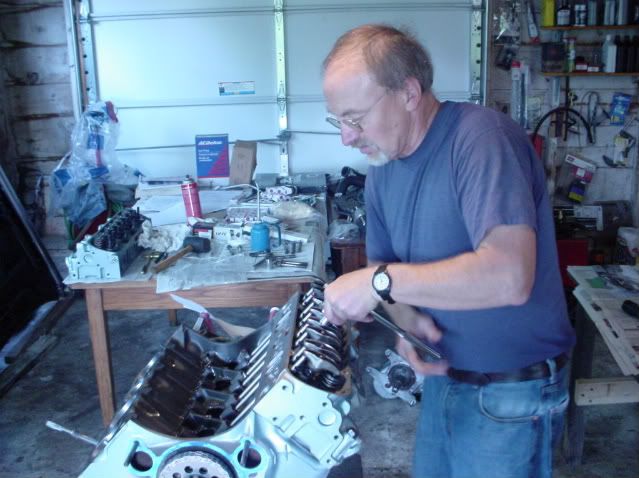
In this picture Karl is installing the valve train. The unbreakable rule is no metal to metal contact. Everything has to be lubricated with the correct lubrication. He is using assembly lube for the pushrod to rocker arm contact point.
One change we made to the original valve train was to swap over to big block chevy rocker arm studs. Since we did so, it meant we had to adjust the preload on the valve train. (If you are rebuilding a Pontiac V-8 with stock components, you simply tighten the locknuts to the correct torque value.)
In order to set the preload for what is now an adjustable valve train, the valve you're working on has to be on the base circle of the cam. Once this is the case, you can tighten the locknut until there is no more slack in the valve train. This is known as zero lash. When zero lash is reached, take one more half turn on the locknut. This will provide enough preload for the valve train to operate properly.